
Create a Project
Use the project editor to add the project title, content, categories, display status, badges, custom meta details, and project images.
To create a Project: go to Projects → Add Project
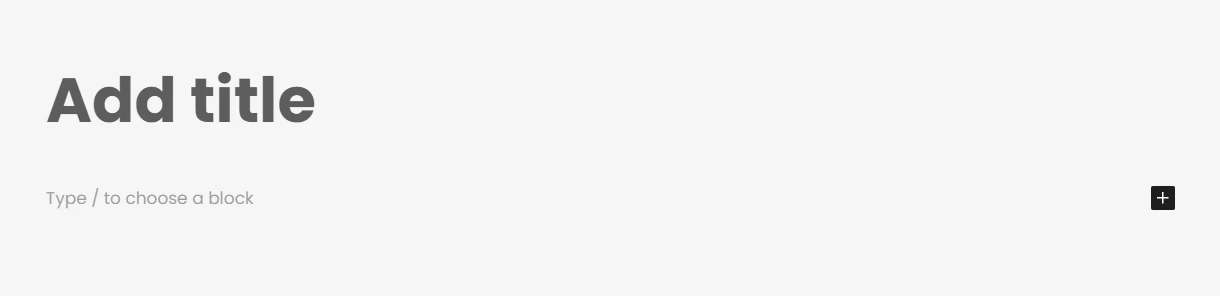
Create Project
Project Title: First, enter the project name at the top of the editor where the editor says ‘Add title’. The title is used on project cards, project detail pages, navigation labels, and admin lists.
Project Content: Add your project’s content below the Project Title, where it says ‘Type / to choose a block’
Good content to include:
- Project overview
- Scope of work
- Client goals
- Challenges
- Results
- Materials or services used
Adding Project Content
Kraken Projects uses the WordPress Gutenberg Editor (also called the Block Editor) to create and format your project content. Gutenberg lets you build rich, engaging pages using content blocks for headings, paragraphs, and more—without needing to write code.
If you’re new to the Block Editor, we recommend taking a few minutes to learn the basics. WordPress provides excellent beginner-friendly documentation and tutorials that cover everything from adding blocks to creating more advanced layouts.
Learn more at the official WordPress Block Editor documentation: https://wordpress.org/documentation/article/wordpress-block-editor/
Assign Category
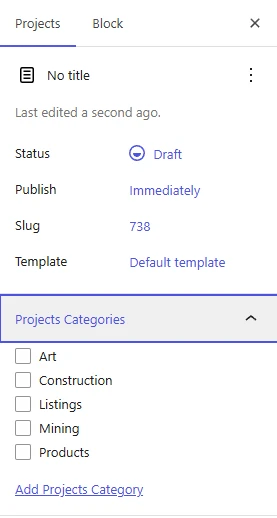
If you have created project categories, assign the project to one or more. You’ll find the categories in the Admin area’s sidebar.
Examples:
- Art
- Construction
- Listings
- Mining
- Products
Configure Project Settings
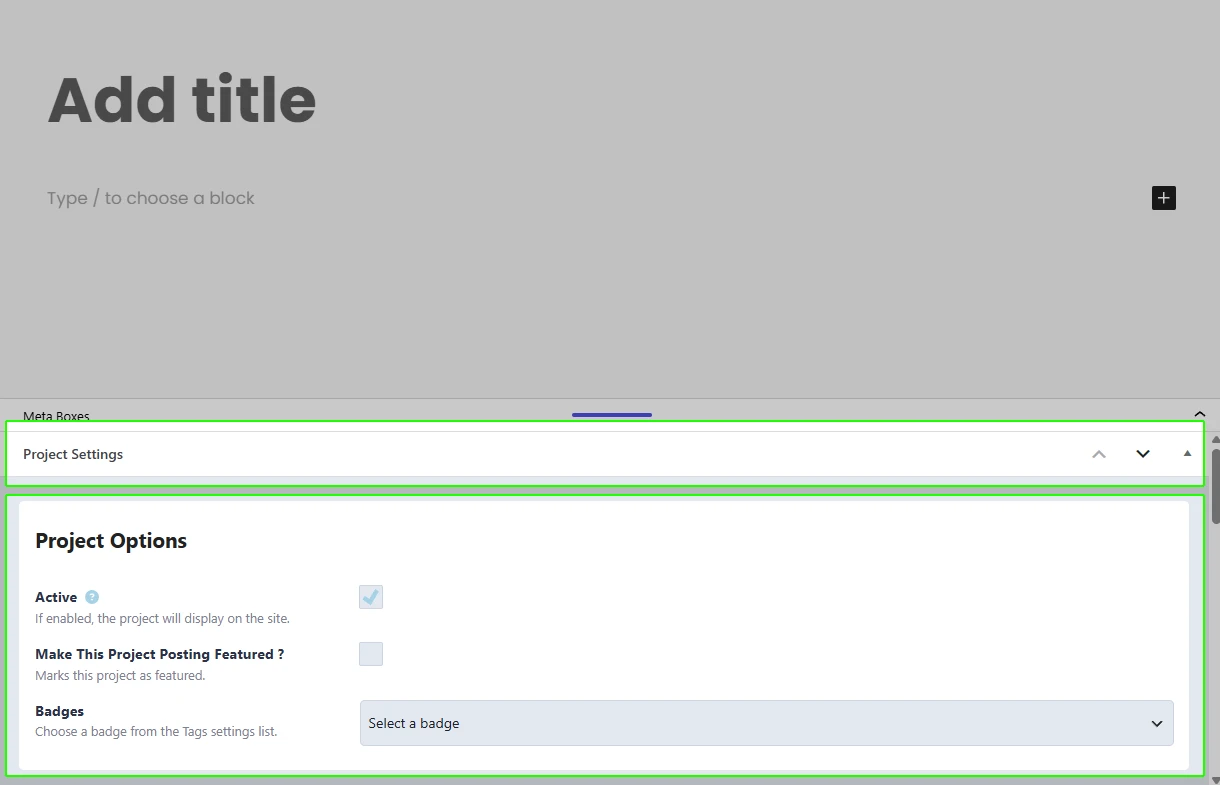
To access settings, open the Project Settings meta box.
Tip: You may need to click the Project Settings meta box tab at the bottom of the page to see all the settings.
Project Options
In the Project Settings meta box, start with Project Options.
Active: Turn this on if the project should display on the site.
- When Active is enabled, the project can appear in public project listings, category pages, filters, and detail pages.
- When Active is disabled, the project will not display publicly, even if the WordPress post status is Published.
For the project to be publicly visible:
- WordPress status must be Published
- Project Active must be enabled
Make This Project Posting Featured?: Turn this on to mark the project as featured. (optional)
Featured projects can appear in featured views or featured navigation when the front-end display supports it. For example, the Category Menu or Filter Menu can show a Featured option when featured projects exist.
Badges: Choose a badge from one of your predefined tags in the Tags settings list. (optional)
The badge can display visually on project cards or project areas depending on the layout.
Meta Fields
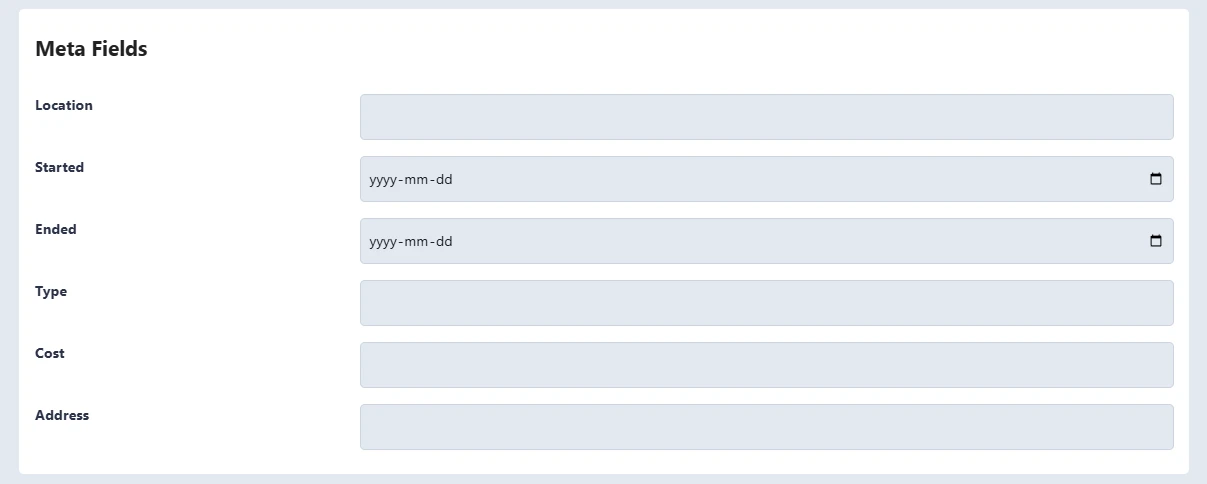
The Meta Fields section contains the reusable project detail fields configured in Settings > Meta Fields.
By default, these may appear as:
- Meta Field 01
- Meta Field 02
- Meta Field 03
- Meta Field 04
- Meta Field 05
- Meta Field 06
After setup, they may have custom labels like:
- Client
- Location
- Project Type
- Sector
- Timeline
- Project Value
Each field’s input type is controlled by the settings. A field may be text, number, price, date, or date/time. Use these fields for structured project facts that should be shown consistently across projects.
Examples:
- Location: Toronto, ON
- Client: Acme Construction
- Project Value: 250000
- Start Date: 2026-04-01
- Project Type: Commercial Renovation
If a meta field is set to Display on Card in settings, the value entered here can appear on the project card. If it is not enabled for card display, it may still be used on the single project detail page.
Project Media
The Project Media section controls the images used within the project.
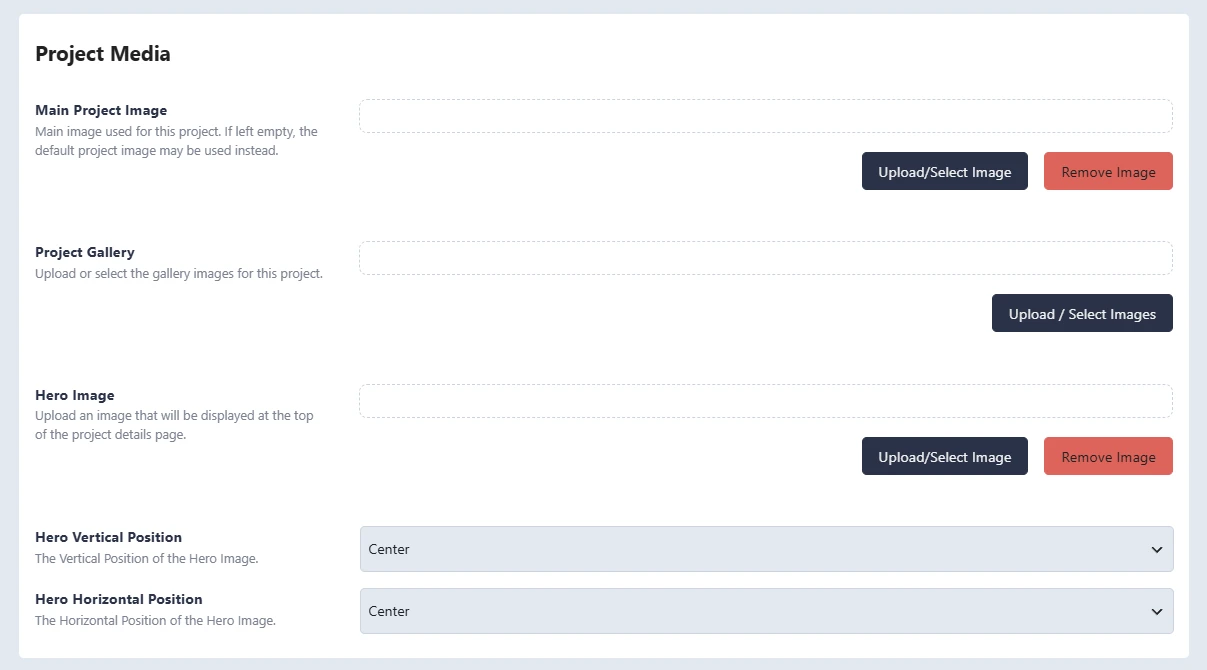
Main Project Image: Upload or select the main image for the project. Use a strong, clear image here because this is usually the first image visitors see in the project archive. This is the primary image used on project cards and listings.
If this field is left empty, the plugin may fall back to:
- The WordPress featured image, if one exists.
- The default project image from Display Settings, if one is set.
Project Gallery: Upload or select gallery images for the project. These images are used on the project detail page gallery. Use this for additional project photos, progress images, detail shots, or supporting visuals.
Recommended gallery use:
- Add multiple images when the project has a detail page.
- Keep image quality consistent.
- Put the strongest images first.
- Avoid duplicates of the main image unless needed.
Hero Image: Upload or select the image displayed at the top of the project detail page. (optional)
This is separate from the main project image. Use a wide, high-quality image that works well as a page header.
If the project detail page is disabled in Display Settings, visitors will not see the single project page, so the hero image will not be used publicly.
Hero Vertical Position: Controls the vertical alignment of the hero image.
Recommended choices:
- Top: Shows more of the top of the image.
- Center: Centers the image vertically.
- Bottom: Shows more of the bottom of the image.
Use this when the hero image is being cropped and the important part of the image is too high or too low.
Hero Horizontal Position: Controls the horizontal alignment of the hero image.
Recommended choices:
- Left: Keeps the left side visible.
- Center: Centers the image horizontally.
- Right: Keeps the right side visible.
Use this when the important subject is not centered in the image.
Publish your Project
When the project is ready to be publicly displayed:
- Confirm the project title is filled in.
- Confirm the project is assigned to the correct category.
- Confirm Active is enabled.
- Confirm the main image is selected.
- Confirm required meta details are filled in.
- Click Publish.
Note: If you aren’t ready to display the project, leave it as Draft or disable the Active setting.